Chicken Marinade

A (twice) tested marinade that will sure to please the crowds!

I’ve only made this twice but it is a big hit with my husband and my family. A couple of tips:

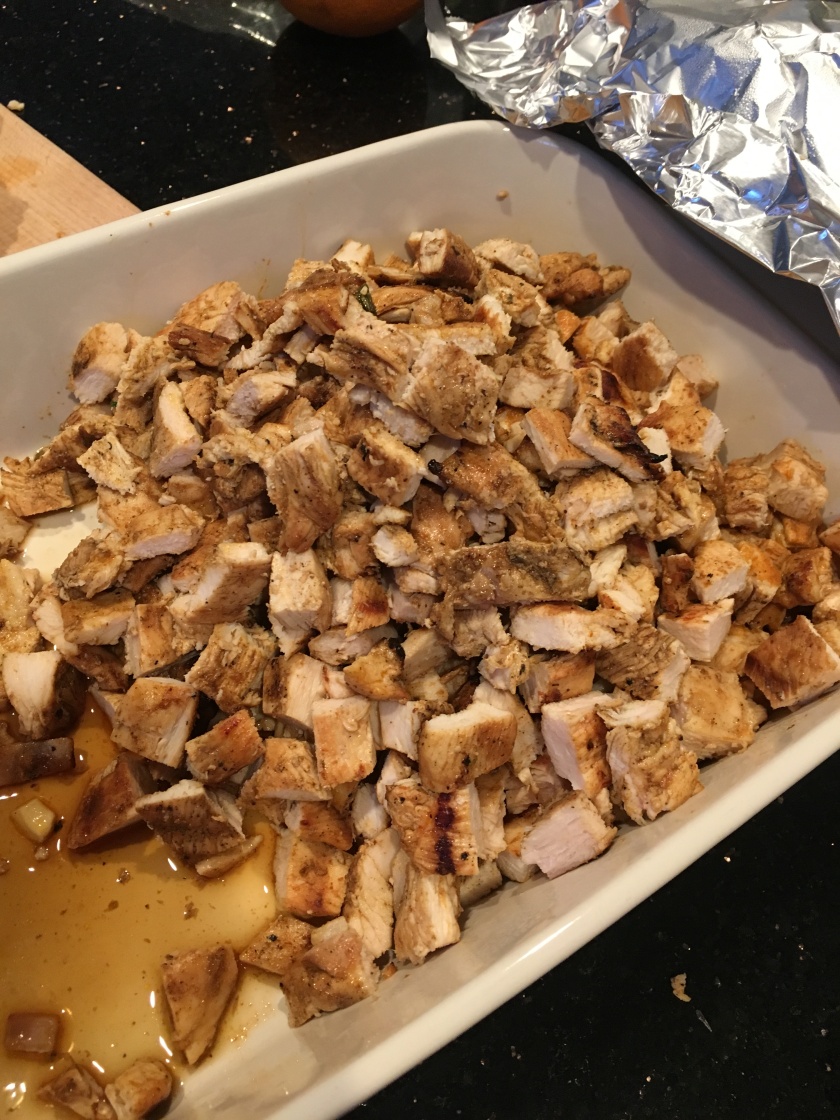
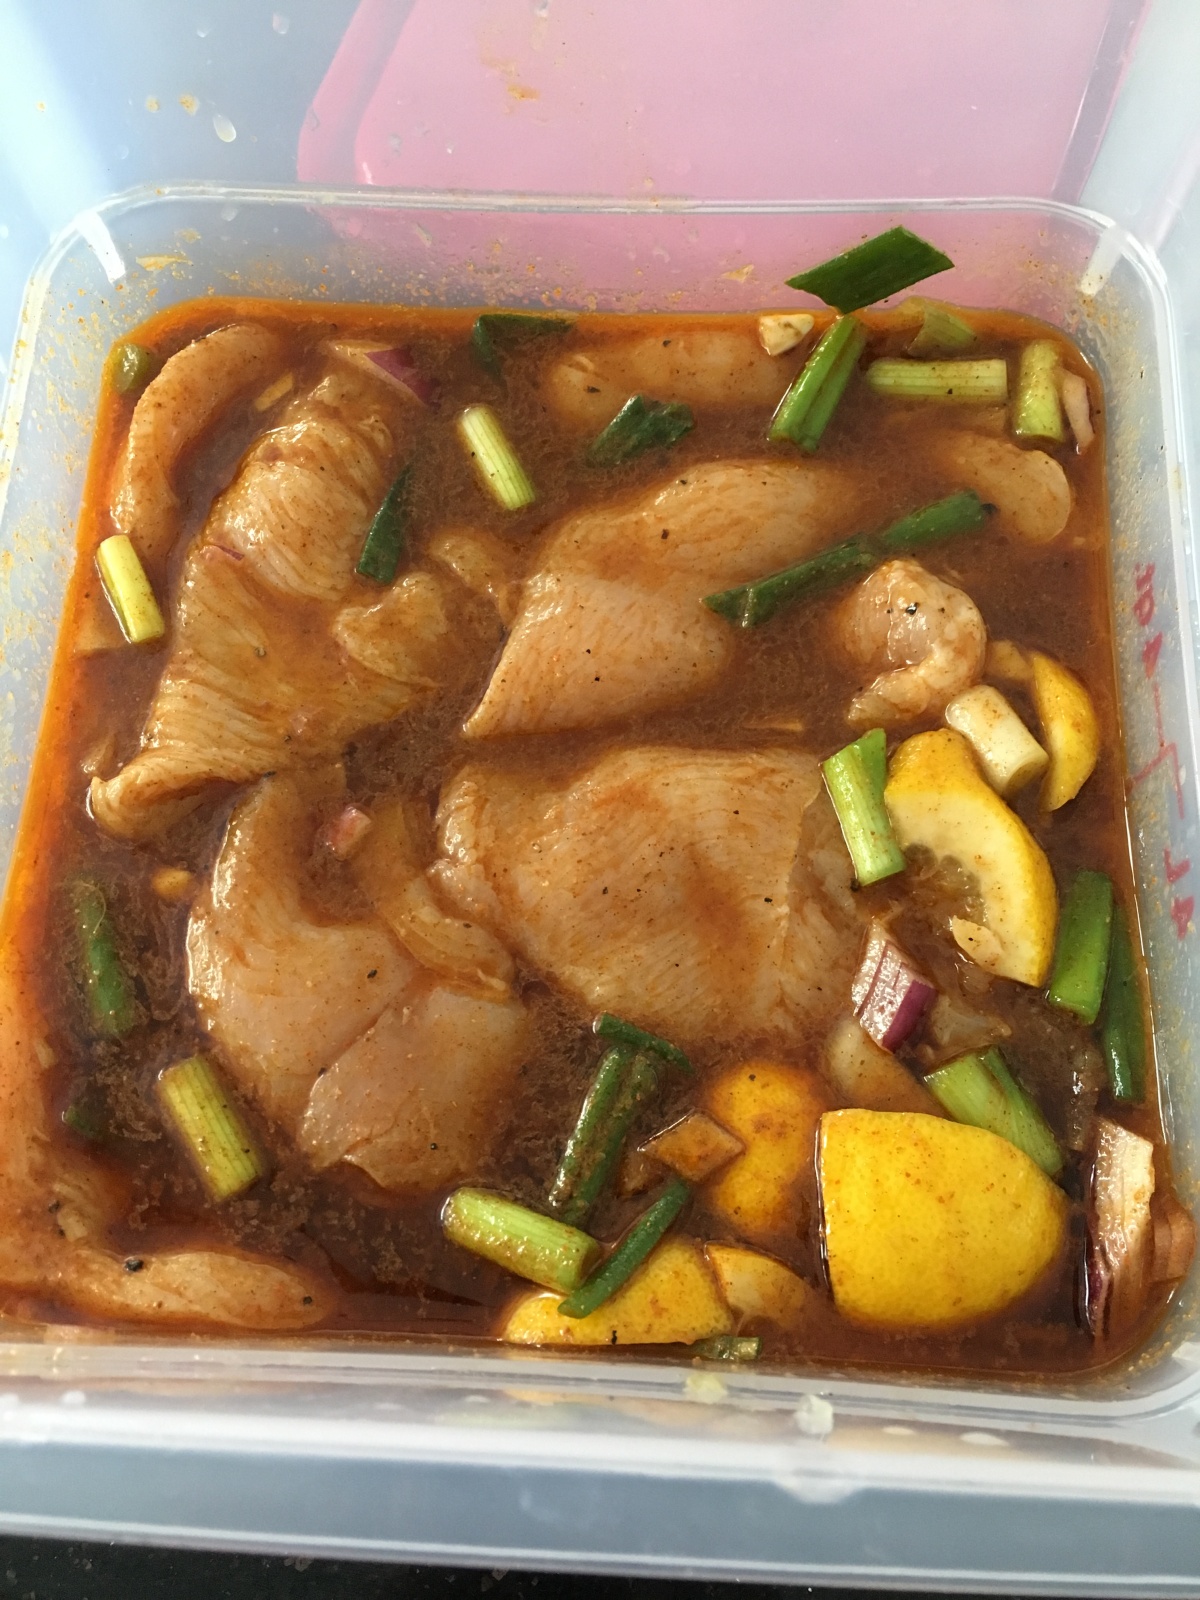
  • DO NOT KEEP IN MARINADE for more than 3 hours. I actually recommend something closer to 2 hours.. maybe 3. The amount of acid in this marinade will definitely “cook” the chicken (think of the ceviche process). I actually forgot about this chicken for more than 12 hours and it made the chicken tough, it was flavorful but wasn’t as tender when I made it the first time around.
  • best grilled. I haven’t baked this yet… but I could try it to test.

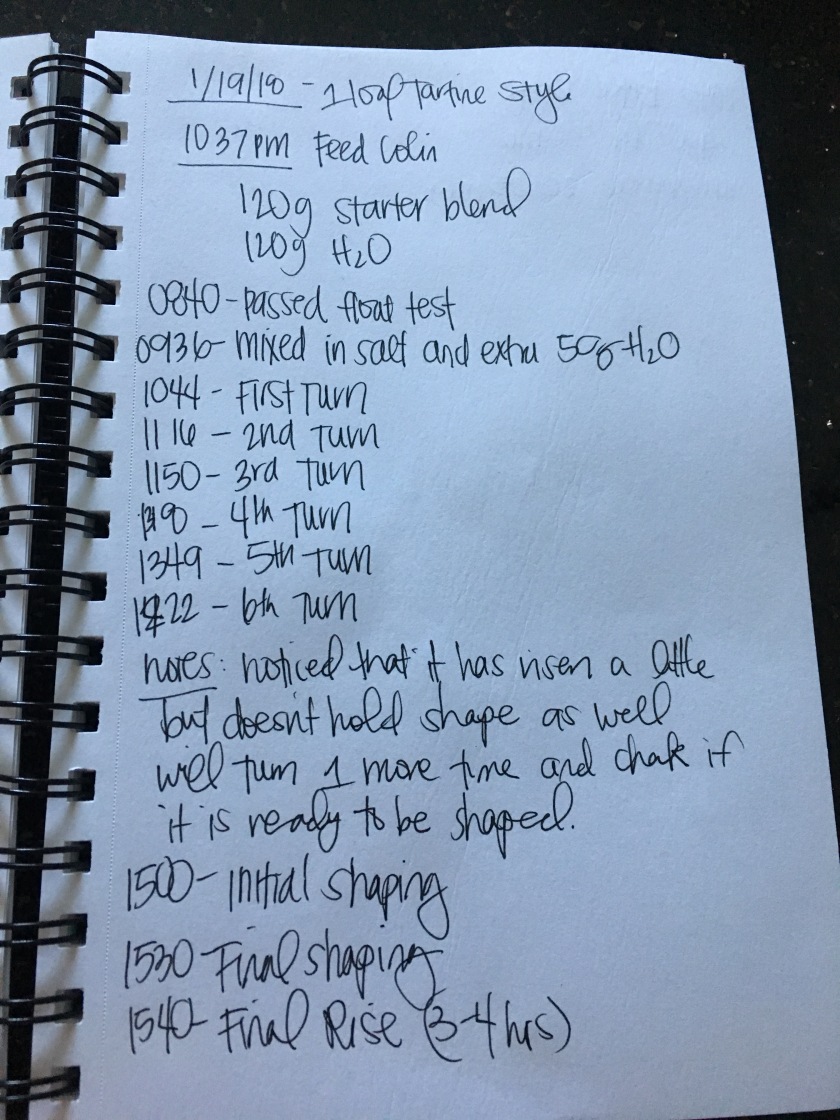
I made this a couple of months ago when I had time to cook and clean and that whole jazz. My cousin was the one who told me to actually write it down so I could share it. I always forget to write things down because I almost always improvise when I cook. The only time I can’t improvise is when I’m baking. I tried that and that has failed miserably (See previous bread attempts.

The recipe

  • ~5 lbs of chicken breast
  • 4 oranges
  • 2 limes
  • 2 lemons
  • 1/2 red onion
  • bunch of green onion (6-7 stalks)
  • 2 heads of garlic
  • salt and pep to taste
  • 1 cup of water
  • 1/2 oil

1 tsp of each

  • cumin
  • ground oregano
  • new mexico chili powder
  • ground chili de arbor

Then after about 2 hours, grill em up and enjoy!

IMG_4044

Lazy breakfast eggs

The older I get, the lazier I feel.. or I’m just lazy lol! I just know that I’ve been so lazy that I do not even feel like cooking.. anything! I would just make rice and eggs because I work so much. There are not enough hours in the day to get anything done! So I decided to try those muffin egg things to help with breakfast. I’ve been skipping breakfast because I snooze at least 10 times and by the time I’m actually up and ready to head out,  I’ve already run out of time and can’t whip up anything to eat in the morning. I also buy eggs every week because I’m always afraid that I’d be out of eggs on one of my sudden urges to bake. I had about a dozen and a half eggs I needed to use before they spoiled.

What I did:

  1. Cracked all eggs into a bowl and whipped them up.
  2. Added some water.
  3. Added salt and pep to taste
  4. I also have a lot of frozen veggies for lazy days like these, so I added those in (I had a bell pepper mix)
  5. Added cheese ( I used mozz)
  6. Spray the cupcake tins/ baking pan and pour it in!
  7. Bake at 350 degrees for about 25-30 min until set.
  8. ENJOY!


IMG_4058
Before baking
IMG_4061
They did puff up a bit but shrank while cooling

My husband thought it was a great idea because he also thinks about  making eggs in the morning but avoids the hassle and clean up that it comes with. This way you can make a bunch for the week and clean up is a breeze.

IMG_4060IMG_4062

I cut these into fours so we can just put them in sandwiches to make life easier for us.

EASY PEASY and great for lazy people… like us 🙂


Bread Progress

I never thought I would enjoy baking bread as much as I do. I thought baking bread was so easy and the hardest part was kneading. I WAS SO WRONG. Well its not hard but all the patience and time to make the perfect loaf is taking lot longer than I wanted it to. I thought it was going to come naturally and easily as cooking has. Guess I’ve found my culinary weakness.. other than my shoddy chopping skills but no one really cares about that at home so that’s OKAY.

I’m also doubting my skills because I can achieve great results with one recipe and the other one fails. User error or am I just rushing through the steps?

Here are some pictures from last week:


IMG_4025

Then this week using Chad’s recipe:

IMG_4053IMG_4056

They both tasted great. The latter just didn’t rise and look the same as last week’s. I did use AP flour instead of bread and I may have over proved it because it was tearing like crazy.

I won’t be able to bake anything for a while because I have 2 failed loaves to finish before then. I pre-sliced the bread so I wouldn’t be too hard to do later on and I stuck them in the freezer so I could eat them gradually.


Nutella Brownies

A couple of weeks ago, I noticed a jar of Nutella on our counter when I was cleaning the kitchen and I realized that I had barely made a dent in it and I needed to used it STAT before it went bad. I wanted to make something easy and with things around the house so I went looking for recipes and I found this one.

IMG_3977

I wasn’t sure how my family would take it or if they would turn out but I had some time during the week and just went for it.

THEY TURNED OUT SO GOOD – according to everyone that had some. I am not too fond of baked treats and rarely try anything I make so I just take everyone’s word for it if it tastes good. My family will not and do not hold back on criticism so I know if something is really horrible. I also know because my brother will comment, “Oh. This actually tastes good.”

I also know they were the best because everyone at work raved about them. A co-worker who isn’t too fond of chocolate even liked it. Another co-worker who was trying to pull the “new year, new me” BS even grabbed one and grabbed another on the way out when he left. I think that’s enough evidence that these may be the best nutella brownies you will ever make!

IMG_3992
Plate for work

Cece

Pizza Night

Pizza is an absolute must in our home and we have it almost every week. In the summer, we made homemade pizza at least once a week and now that we’re dealing with school and work, we usually go to Little Caesar’s for their EMB (Extra Most Bestest / $6) Pizza, so when we finally have some down time, we make homemade pizza.

Here are the recipes I use for the crust and the pizza sauce. 

IMG_3965

I also made a rice flour crust for my brother who is allergic to wheat. I usually buy the pizza crust mix made by Bob’s Red Mill but since we were making pizza spontaneously, I just used rice flour and a little bit of xanthan gum and used this recipe as reference. Turned out okay and my brother satisfied a craving so I guess it all worked out!

IMG_3967

Beware: It does create a sticky crust and I was afraid it wasn’t going to come off the pan so I used foil and sprayed a bunch of Pam on it just to make sure.

We’re still trying to find the best recipe for the crust. I’m trying to find the closest thing to Pizza Hut’s pan crust.. but as we all know, the best tasting food usually has the unhealthiest of ingredients, so for now these recipes will suffice!

Next time: sourdough pizza dough!

Cece


Husband’s Pick #2: Cinnamon Rolls

Husband’s Pick Weekend- Part 2: Cinnamon Rolls for brunch!

Cravings have really been taking over, impairing our decision to eat healthy this year and cinnamon rolls were no exception! We live fairly close to the mall and we’ve already made at least a trip to Cinnabon in the last month. We think about going again but we decide against it because we’re responsible adults.. and would drive even further for Coldstone (smh).

Anyway, since I was on a roll last weekend, I wanted to make something special for my husband when he woke up and decided to make cinnamon rolls! I used this recipe. It was wonderful! I did use yeast that was probably a couple months too old and it took a while for the dough to rise but it did eventually rise.

I didn’t think it would rise for the second proof but it did and all other steps after that was a breeze. I mixed the frosting by hand instead of a mixer as suggested in the recipe and that was difficult. It was also a cold day so use a mixer to help you out and soften everything out a bit.


By far, I think this is the best recipe for cinnamon rolls and I’m definitely going to make more in the future!


IMG_3897

So try it out and make some cinnamon rolls this weekend!

Cece

Husband’s Pick: Pretzels

Husband chooses the menu for this weekend! Part 1: Pretzels.

This past weekend my husband suggested that I use my sourdough starter to make something new: pretzels. I’m sure he had intentions to encourage me to broaden my knowledge but I’m also sure that he was probably craving pretzels as well. Either way, we both benefited this weekend.

I actually wanted to bake another round of bread this weekend but I’ve had such a hard time lately that I decided to just skip it. The morning of my levain hadn’t risen as much as I would have liked it to anyway. And just when I decided to discard the whole thing, I decided to use it for the pretzels. After limited searching, I came across a recipe on the King Arthur Flour website and it seemed to fit what I was looking for. Luckily, I had everything on hand. I usually don’t have dry milk on hand but I had to use it for something else earlier in the year (SCORE!).

The recipe I used was this one. I pretty much followed everything listed except the last part when they brushed sugar(?) on the pretzels to achieve the brownish color. I read a lot of the reviews and other pretzel recipes and they all pretty much mentioned the baking soda bath that this recipe lacked. I agree with most of the commentators, how can it be a pretzel if it doesn’t look/taste like one? Then it would just be… bread right?

Starting out was pretty simple. Mix everything and let it rise:

Then it was forming and making sure it didn’t dry out:

I thought I did pretty decent with the twist!! Especially for it being my first time. The only thing I wish I had was pretzel salt. My husband LOVES that! But he’s trying to cut back on salt, so it really didn’t matter that I didn’t have it. Kosher salt it is!

At first, I had taken it out too early. My husband took a bite and we can clearly see that it was still a little under cooked and so back into the oven it went. It looked nicer with a deeper brown color. They were good. I could definitely improve but it was a good first try and it fulfilled a craving. They were chewy and salty. My husband said it was a little sour from the starter but not overwhelming. I wish they were a little bigger like at Wetzel’s Pretzels! I should try making pizza pretzels…

Process: 10/10
Taste: 6/10

Cece

The First Cookie I Baked for my Co-Workers

Close friends know that I used to work in a toxic environment and 2017 was a roller coaster of events filled with drama and anger in the workplace. I had moved between 3 different jobs by the end of 2017 and I had major trust issues and I didn’t/couldn’t open up to my co-workers. Almost 2 months with my department and I’ve warmed up a bit to my co-workers and I decided to bake for them. I baked fresh chocolate chip cookies and even wrapped them up all fancy. First impressions are everything and I didn’t want to be handing my new co-workers a cookie in a plastic baggie! I really didn’t have any fancy wrapping so I just used whatever was handy in the kitchen. Lots of parchment paper (thanks Costco!) and twine!

img_3847

I used this recipe. I’ve been eyeing this blog and have been wanting to use this recipe for a long time and I finally decided to try it this past weekend! It made wonderful big cookies. At first when I had my husband try them he didn’t seem to like them too much because they were crispy on the outside. My family loves chewy and soft cookies so anything crispy makes them a little skeptical. The next day however, they set and were more chewy and he enjoyed them a lot more!

img_3845

Look at those ridges! Of course this technique isn’t the only way you can achieve those ridges but it does create a cookie with nice and crispy edges and a chewy gooey inside.


So grab a glass of milk and dig in!

Cece

Bake #2

One of the things I wanted to do was improve on my bread and achieve a great oven spring. So I’m going to bake as often as I can to do so. This week, I decided to follow the book in hopes that I could improve on my bakes and read the directions carefully and find what I’ve missed. I tend to rush through recipes and I always miss crucial steps. I know my starter is active and the more I bake and feed Colin, the tastier it gets. I’m not going to go into detail the steps so here are some pictures to document my journey.

Night feed.

Float test

Saturday Morning Mixing

Rise

Shaping and fermentation

The bake

All 24 hours worth of work only to achieve a loaf that is almost flat as a pancake. I’m pretty sure I under/over proofed (I think more under). I just get so anxious and I start so late in the day. I honestly don’t know how strong it should be or what I’m supposed to be feeling. I guess we’ll have to try again this coming weekend!

Just because it didn’t turn out the way I wanted it to in the end.. I had another plan for the loaf:

Pull Apart Cheesy Bread!

Notes

IMG_3834IMG_3835


Cece

Instant Pot Yogurt

This past Black Friday, I bought myself an Instant Pot because it was on sale and I really wanted to know what the hype was. So far I’ve only made about 2 things since Nov ’17 but that’s because holidays got in the way.. etc.

Anyway, I thought it was really interesting that you could make your own yogurt! And with an Instant Pot, it’s easier to do because you don’t have to constantly watch the temperature.

I used this recipe: Instant Pot Greek Yogurt Recipe

Essentially you need milk, yogurt cultures from yogurt aka “starter” ( I used plain organic yogurt from the store), cheesecloth or cloth to strain yogurt, and your Instant Pot. Instructions were basically to boil milk, cool milk, add cultures, incubate for about 10 hours, set in fridge, strain and ENJOY!

The first time I made this recipe, the post was so hard to follow because she didn’t really list out her instructions UNTIL THE END so you had to follow each of her pictures if you were impatient like me (LOL). The second time around was much easier. I also made too much yogurt the first time around. I ended up giving some away to my mom and I made a bunch of yogurt cake that went bad after a week of us just staring at it. The yogurt cake was actually really good. Not as sweet as I would have liked but that is a recipe for another day.

I really like how simple and cheap making your own yogurt is. I can control the amount of sugar I want and therefore makes it so much healthier than from the store. I haven’t been adding any sugars to my yogurt in the morning except whatever is in the granola and fruit that I add to the yogurt.

Verdict
Process: Instructions are difficult to follow on the blog so go to page 2 and the recipe is listed out, easy once you get the hang of it. The hardest part is probably getting the milk to heat up to 180°
Taste: Creamy, a little tart but not so much like greek yogurt at the store. Since it is homemade, I learned that I can control how tart it can be.
Rate: 10/10 – Don’t think I’m ever going back to buying yogurt ever again!

So if anyone wants some plain greek yogurt in the future, let me know!

Cece